By Don Taylor
 I advocate digitizing everything that can be digitized, particularly photographs. I was recently speaking with a person at the museum about a photo that she had of the Cunningham family. She showed me the old, faded photo and I asked immediately if it was digitized. I learned it was not. “Oh my,” I said, “we need to fix that.“ I explained the importance of digitizing photos as I went to get the light set for photographing.
Besides the importance of having a backup copy of the photo, electronic versions are easy to share. You can easily send a copy to cousins that may not have the photo. You can also post the photos on-line at many sites including Flickr, Google, Picasa, blogs, and other places to act as “cousin bait.” Finally, electronic versions of a photo may be cleaned up and made much more viewable quite simply and easily. That is what I suggested to my museum visitor.
I photographed a couple of the larger photos with my camera then scanned a few of the smaller photos with a Flip-Pal. It does a nice job of scanning photos without needing a computer.
To me, it is important to rename files immediately. Filenames like DSCN1234 or Scan567 are useless. I know many folks like to use meta data, but I find having key information in the file name is much better. I use the form of, Subject, Context/Action, Place, Source, Date, and Status. I leave out the Place and Source if they aren’t important. That is the date of the image, not the date of the scan. But, sometimes an image’s date might be something like “c. 1930s.”
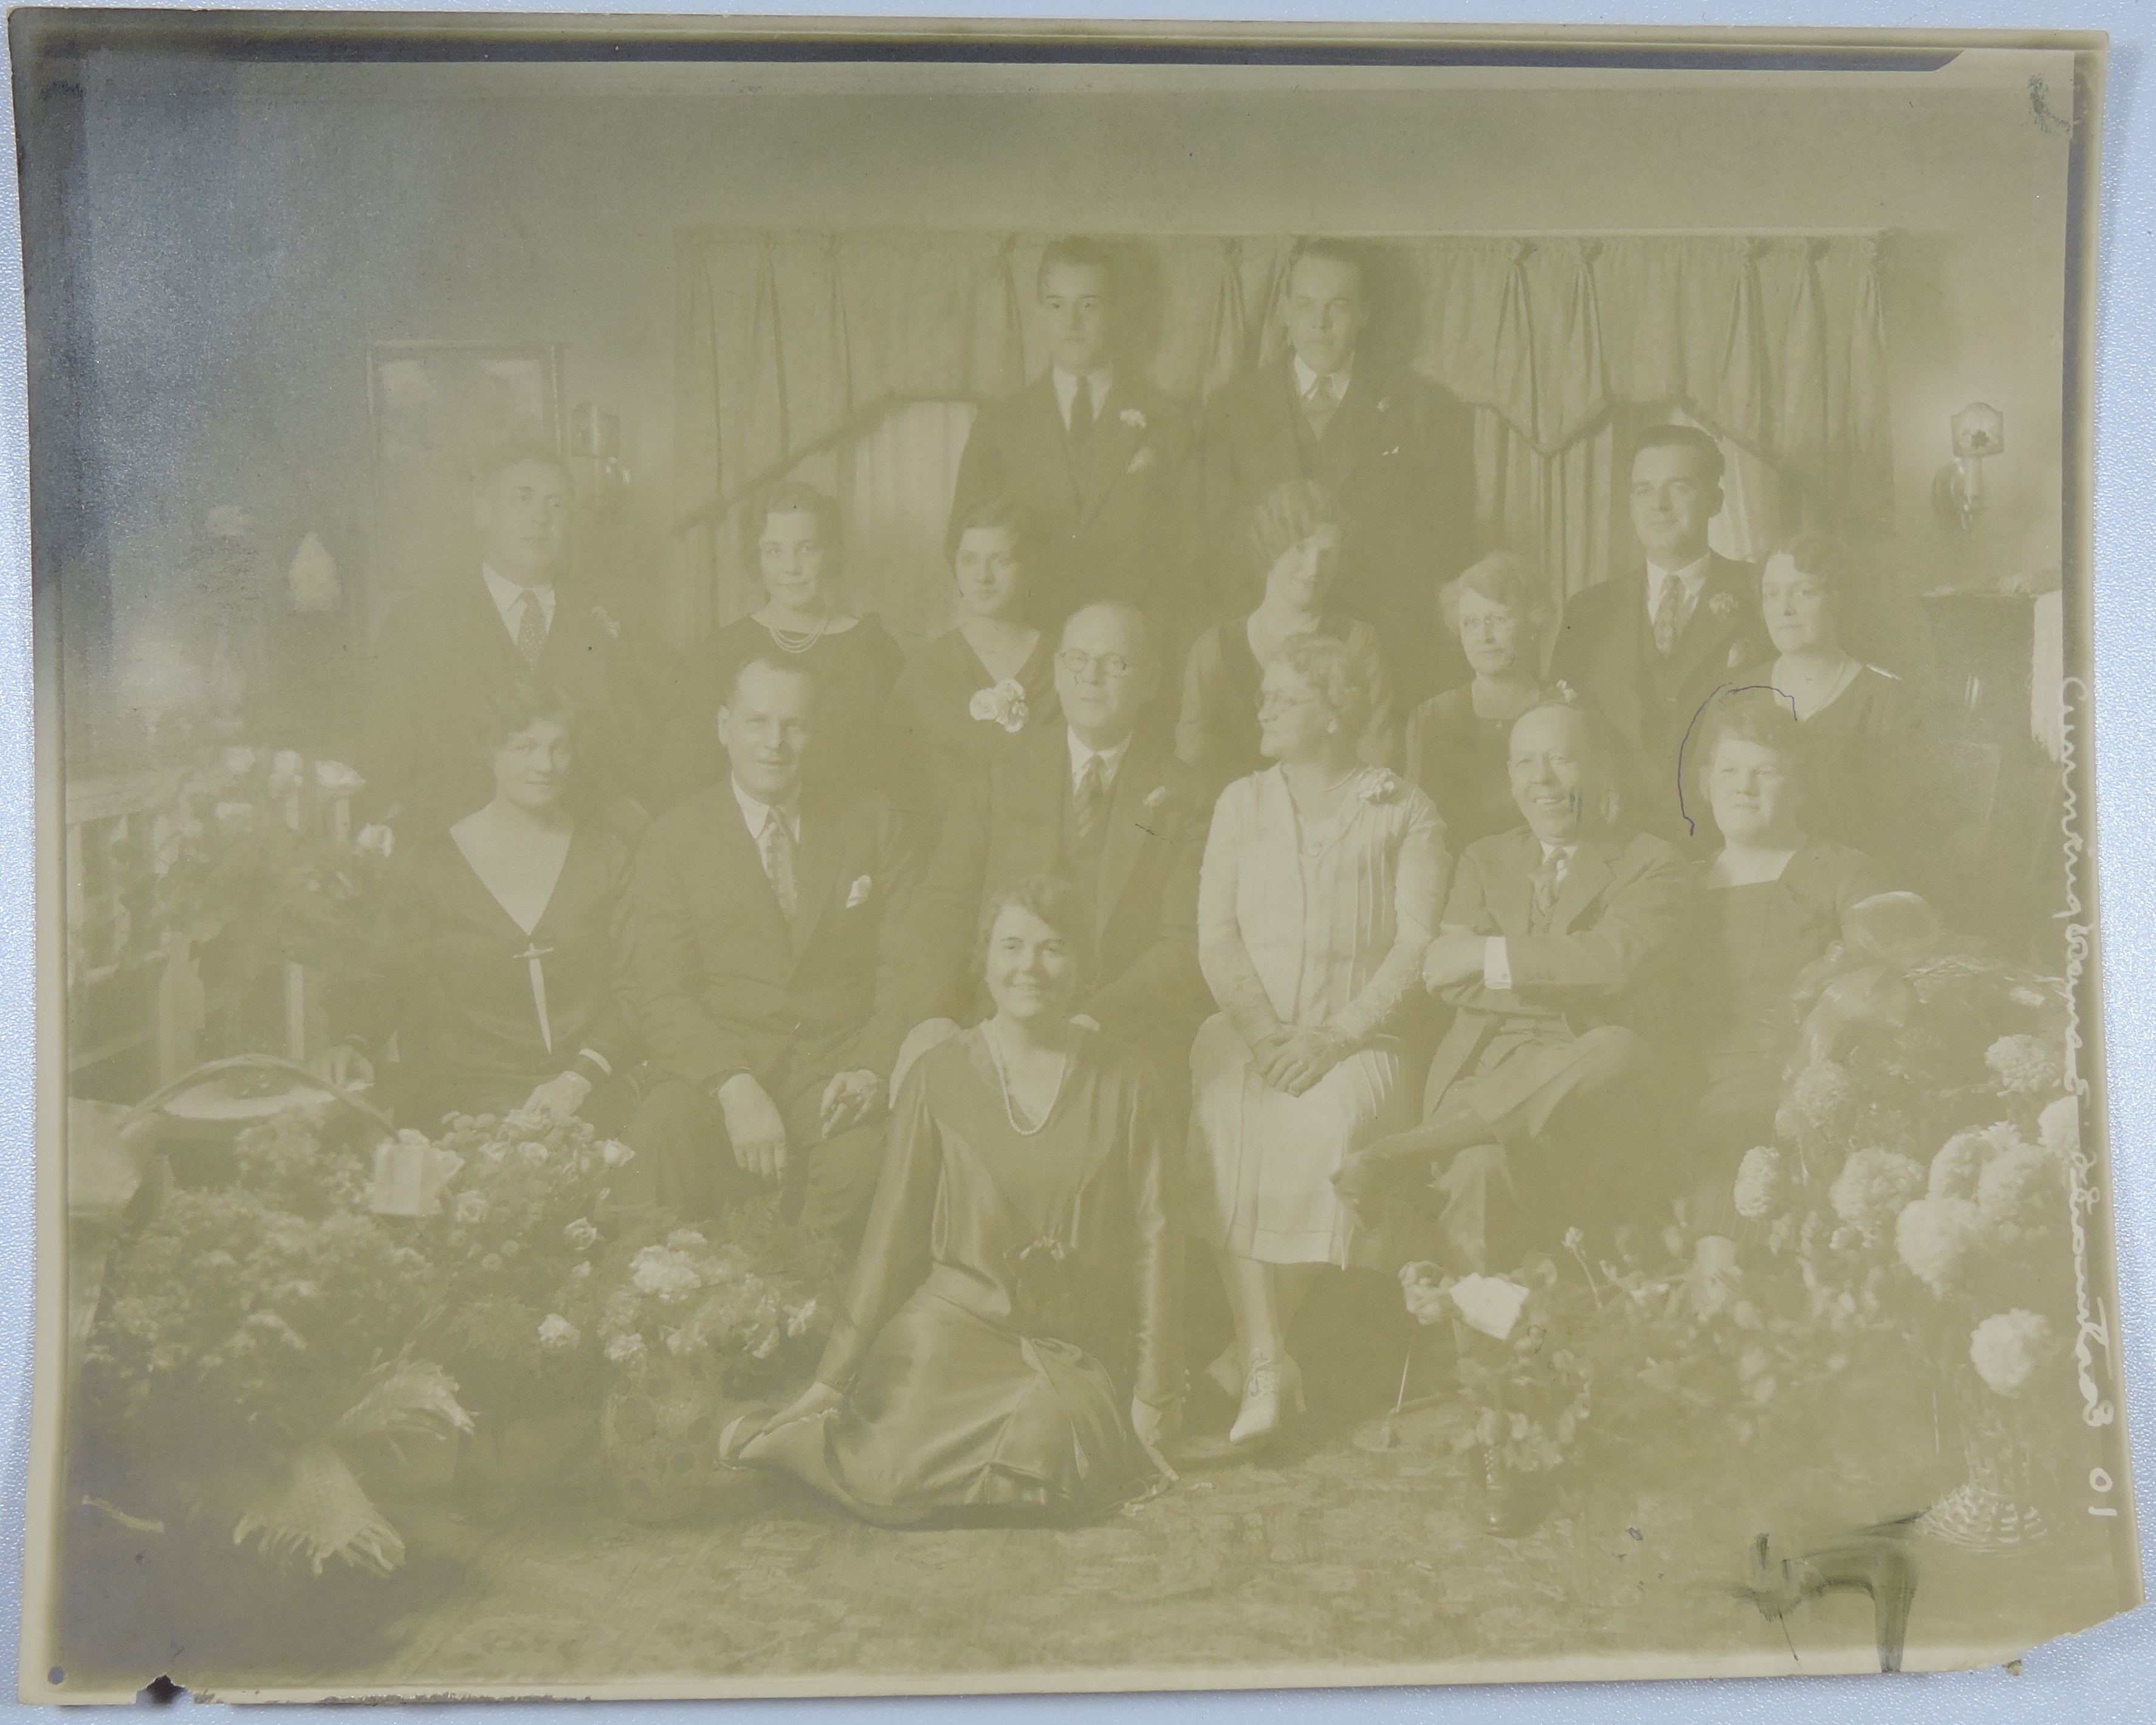
Original scan of Charle & Carrie Cunningham & Family (in PNG Format)
In the case of the first photo, I knew that it was a Charles and Carrie Cunningham Family group photo. My guess is that the context might be something like 50th wedding anniversary of them; if so, it would be from 1928. Alternately, the clothes look to be from the early 1930s. So, I’m going to hazard a guess of c. 1930. So, I used the filename Charles & Carrie Cumming with Family – c. 1930.
I use different file extensions for different purposes. I use TIFF format for all my original scans and photographs. I then use JPEG format for all working and shared images. Finally, I use PDF for any images with text after I have run optical character recognition (OCR) on the image. The file types immediately tell me if the image is an original or if it has been edited. Occasionally, I use PNG for original files, particularly if I need to share an original. PNG files use compression to be smaller than TIFF files in size. I use them on images that are particularly large, typically more than 50MB as a TIFF. To give an idea of the various sizes, the following table shows the file sizes for the Charles & Carrie Cumming with Family – c. 1930 file.
| TIF/TIFF | PNG | JPEG/JPG |
| Uncompressed | Lossless Compression | Lossy Compression |
| 30.2MB | 11.1MB | 5.6 MB (Edited) |
Next, I open the original file. I use Preview on a Mac. It is really quick and it is easy to do almost everything I’d like to do. Windows computers have many other photo and/or image products which work very well also. After the file is opened, I immediately export it to JPG format. I then close my TIFF file and open the JPG file. I only ever manipulate or edit the JPG file.
I like to rotate the file and crop the file as appropriate. If I can leave a ½ in border on the bottom during the cropping process, I do so.
For scanned black and white photos I set the saturation to 0; that eliminates any greens, or other weird colors from the image. Next, I adjust the image exposure and contrast to provide the best possible image for the faces of the people. Once I am happy with that image, I raise the sepia to a level that is easier on the eyes than a stark black and white. Then I save the photo again. Just these few steps only take me about a minute and provides a much higher quality image to use and share, yet maintains the original in an untouched state so the process may be duplicated if desired.

Charles & Carrie Cumming with Family edited.
I mentioned earlier about leaving a ½ inch border on the bottom of the photo. That is to add a caption if possible. In the case of a photo of Thomas Burdwood, the original was smallish and had aged pinkish over the years. Once again, I duplicated the photo, cropped it, set color saturation to 0, adjusted the exposure and contrast and sepia level. Once I was done with that, I added text to the image of the individual’s name (based upon what was on the back of the photo) and saved it.
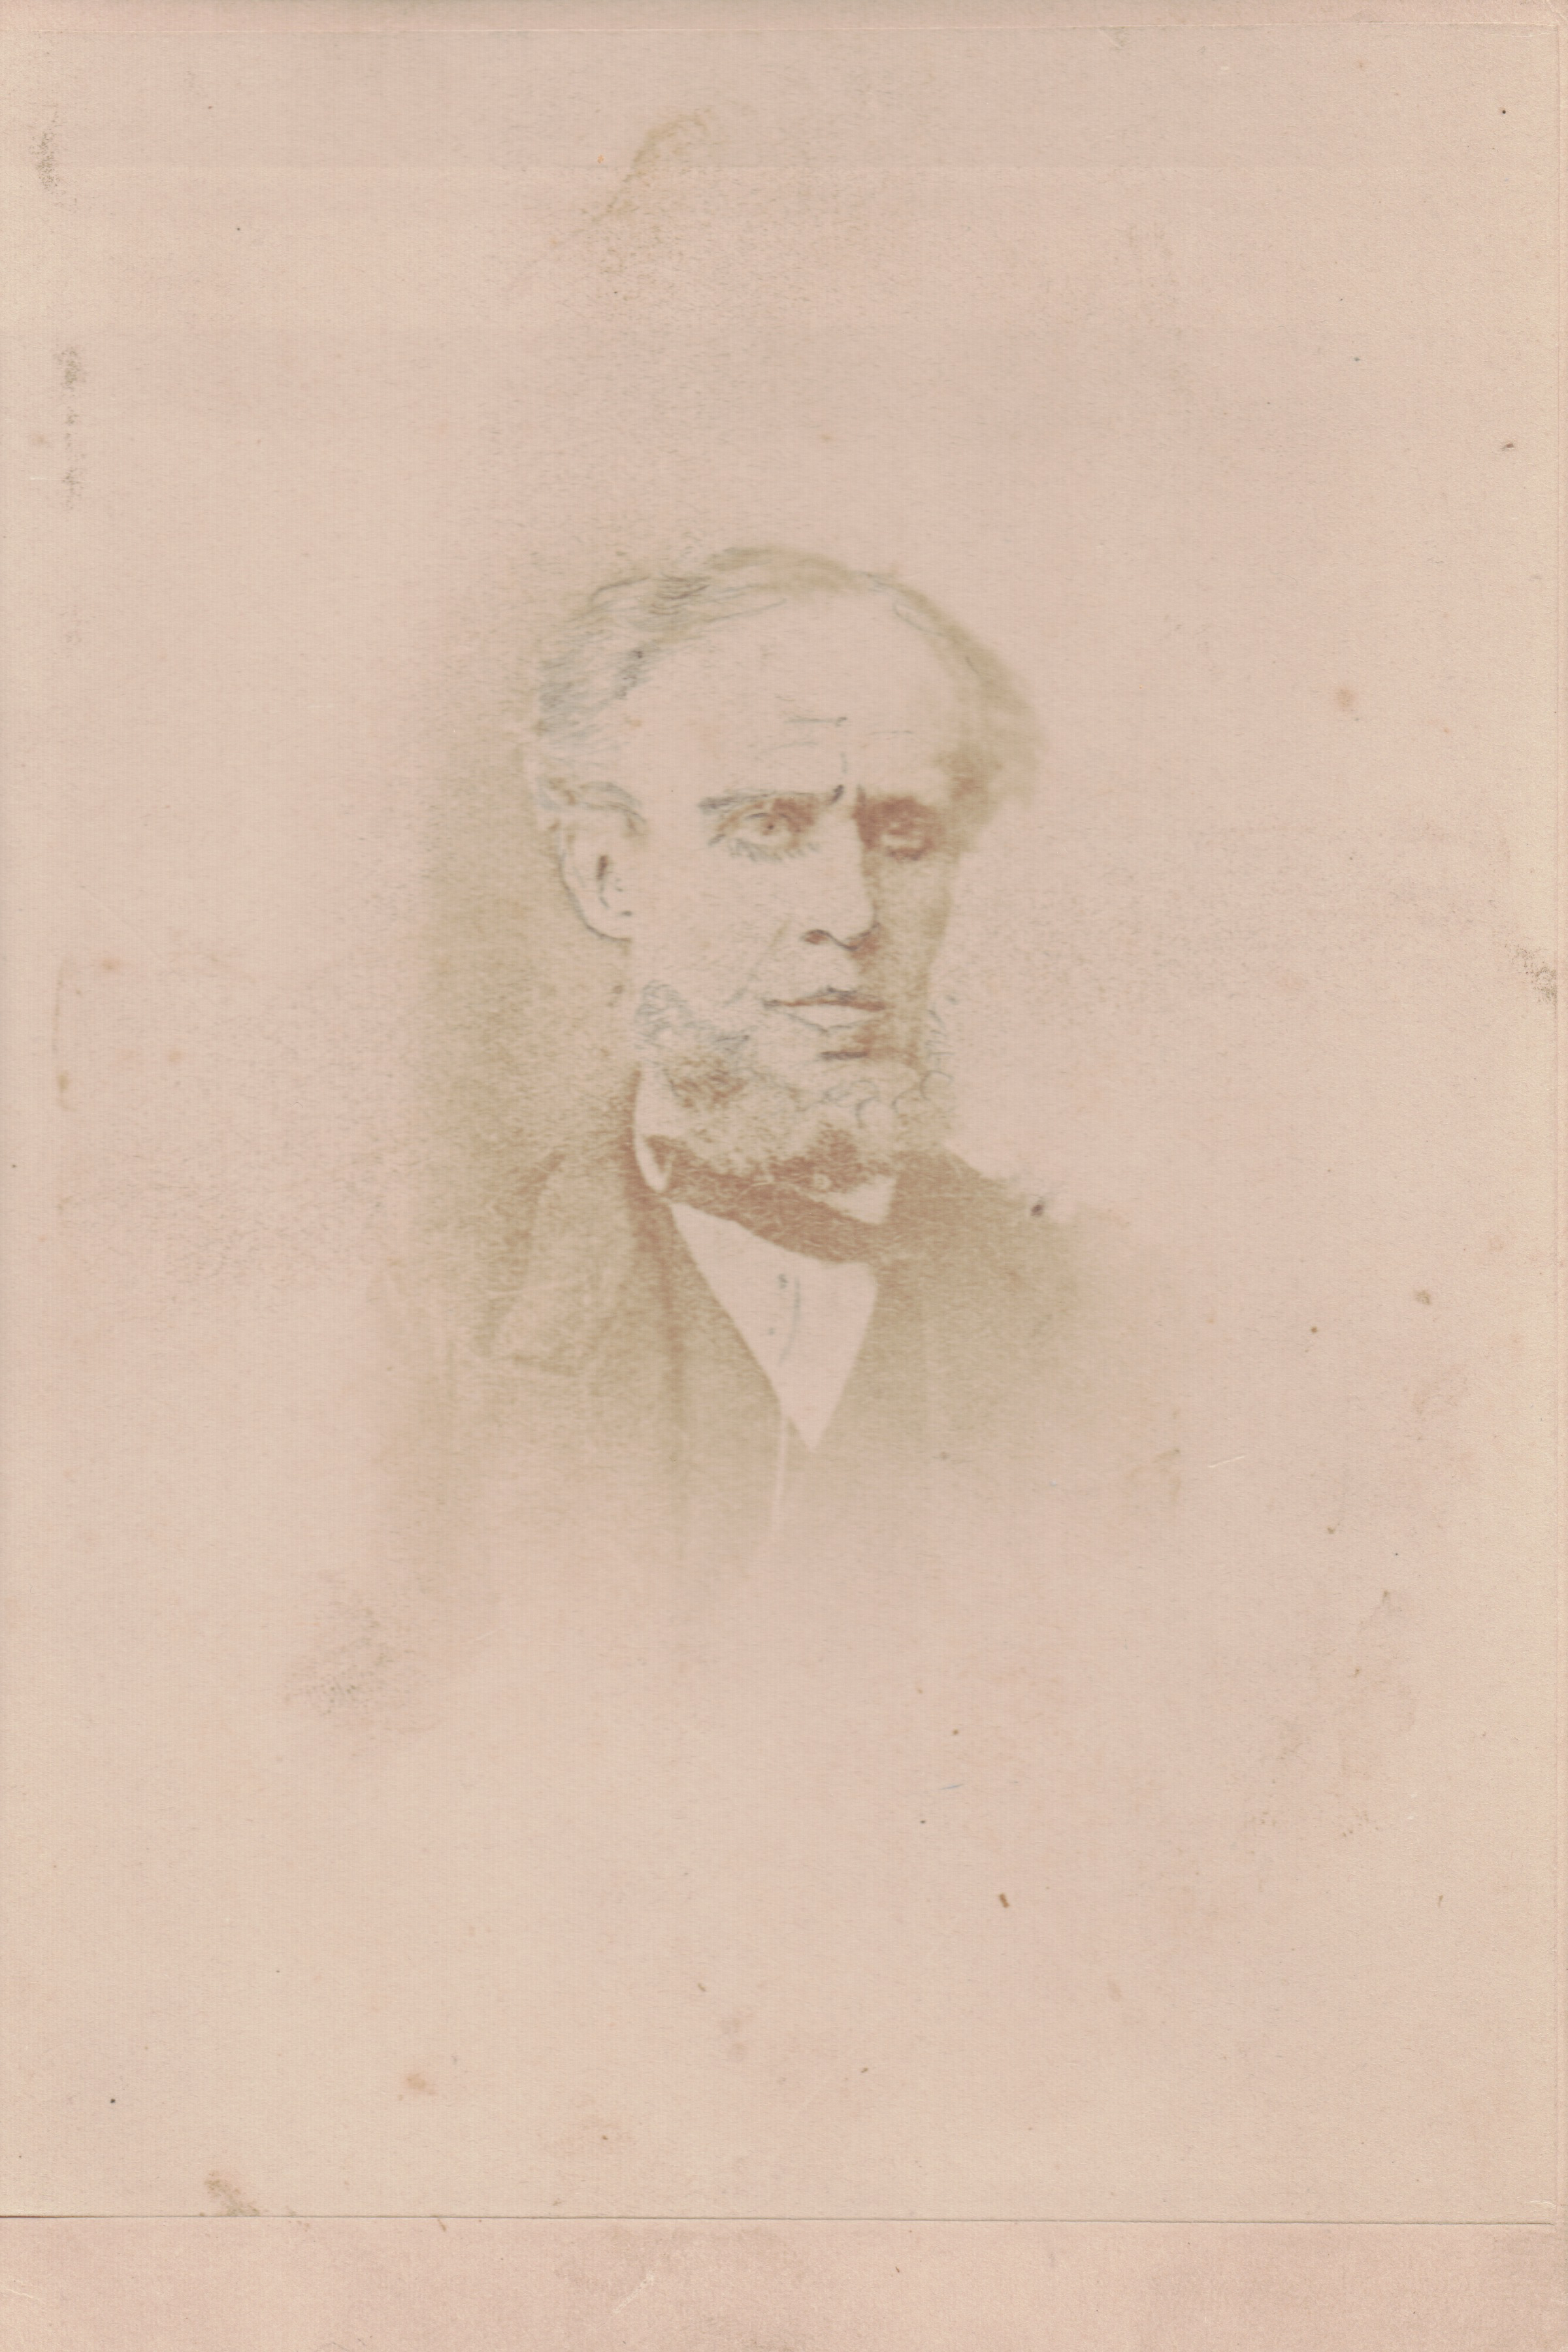 Thomas Burdwood Original Scan |
 Thomas Burdwood edited |
Of course, once a photo has had its initial edit, you can use many other image enhancement tools to remove creases, spots, or otherwise improve the photo.
Scanning photos greatly increase the likelihood that they won’t be lost. Keeping your original scan pristine means you can always return to the original and manipulate the image again. Finally, the manipulated and compressed version not only make the photo nicer to view it makes the image more shareable.